Thursday, November 17, 2011

High postage fail

In an attempt to make as many handmade gifts as possible this Christmas, my first creation is a wheat and lavender heat pack for my Mum.

Based on this pattern, I've used denim and fabric scraps to make the cover, which closes with velcro. Inside I have used calico material for the lavender and wheat pillow. All fabric used, including calico, is from my op shop stash. I used thrifted lace and a recycled birthday card to write a message.


Heat packs are microwaved for approximately 2 minutes, they small divine and feel great on the back of shoulders.

Unfortunately, what I probably should have considered, is sending such a weight to the UK; $40! Ouch.

Saturday, November 5, 2011

I Spy Bags with Op Shop Treasures

A friend told me she'd made her son an I spy bag. Intrigued, I searched online to find some examples; little material sacks with a clear window, which are filled with little plastic balls. Within the sack are tiny little toys and treasures which children have to find.

Here is an example from Montessori Moments.....

Here is my eco-version. I use rice, instead of plastic balls, which I've seen here

I popped down to the op shop to see what treasures I could find - that was the fun part! This is what I found.......


A snake, Buzz Lightyear and Jesse from Toystory, a green and white fighter jet, a yellow and blue angel, little wooden owl, an orange rabbit and a fireman.

Each little treasure I either found in my local op shop's 'free box' which is mostly filled with McDonald's Happy Meal toys! I found some additional pieces on the shelves at 10c each.


I used two pieces of thrifted material from my stash, and the clear vinyl piece is a cut off from the Resource Rescue Centre - eco friendly craft supplies

In the making...


I attach a printed photograph of the treasures to find in the I Spy Bag which is tied to the side.

I gave the I Spy Bag to my son, the first thing he says

"Look at the rice" followed by ..".. and the toys, I need to take them out"... hmm not a great start! We'll re-attempt the game another day :)

And look! I found a little treasure for myself, an owl bottle opener for 10c, cute no?

Shared with these link ups

Monday, October 24, 2011

Zipper brooches with leaves

The zipper brooches have progressed. You'll laugh at this one readers, I found a broken faux-leather wallet by the side of the road, yep, in hard rubbish!

I thought about fixing it up, but really, it wasn't worth the effort, so instead, I've started cutting little leaf shapes, and using a seam ripper (the sharp bit) I score leaf veins into the vinyl.

Vinyl wallet before cutting into leaves

http://www.dimensionsguide.com/wp-content/uploads/2010/01/Seam-Ripper.jpg
Seam ripper for scoring leaf veins into vinyl leaves


I'm starting to sell my brooches on Recycled Market, a brand new site that launched yesterday.

Do you make recycled goods too? If so, registration and listing your products on Recycled Market, is free.

Tuesday, October 11, 2011

Zipper Brooches

I managed to score a whole bag of metal tooth zippers for just $2, so I've been busy making these little zipper flower brooches...


This one is my favourite so far...


Friday, September 30, 2011

Crayon Holders

A crayon roll, useful for kiddies when at cafe's! A gift for a 3yr old girl, made using a tutorial found here fairy fabric purchased at the op shop, eco-fi (made from recycled plastic bottles) felt, and craft ribbon from my 'stash.


Friday, September 16, 2011

Childrens book party sweetie pouches


I made these for my son's third birthday party; sweetie pouches to give to his friends to say thank you for coming!

The children's books I used for this project, I have blogged about before, as I have used them for my coasters. An op shop gave me a bag of damaged books (mostly ripped or scribbled on) that I can use for craft projects, that would otherwise be thrown in the bin.


I ripped out book pages, used a small plate as a template to draw around, and cut two circles per pouch.
Machine stitched two circles together, leaving an opening to fill with treats - in this case, chocolate covered sultana's, then machine stitched the hole at the top to seal.


Shared with these link ups

Featured on WeUpcycle

Tuesday, August 30, 2011

DIY Photo Magnets

How to make your own photo fridge magnets.


What you will need:

1 x sheet of A4 recycled paper
Access to colour printer
Clear vinyl (I picked some up at Resource Rescue)
Mod Podge
Strong glue
An old fridge magnet, or you can purchase new magnet strips from a craft shop


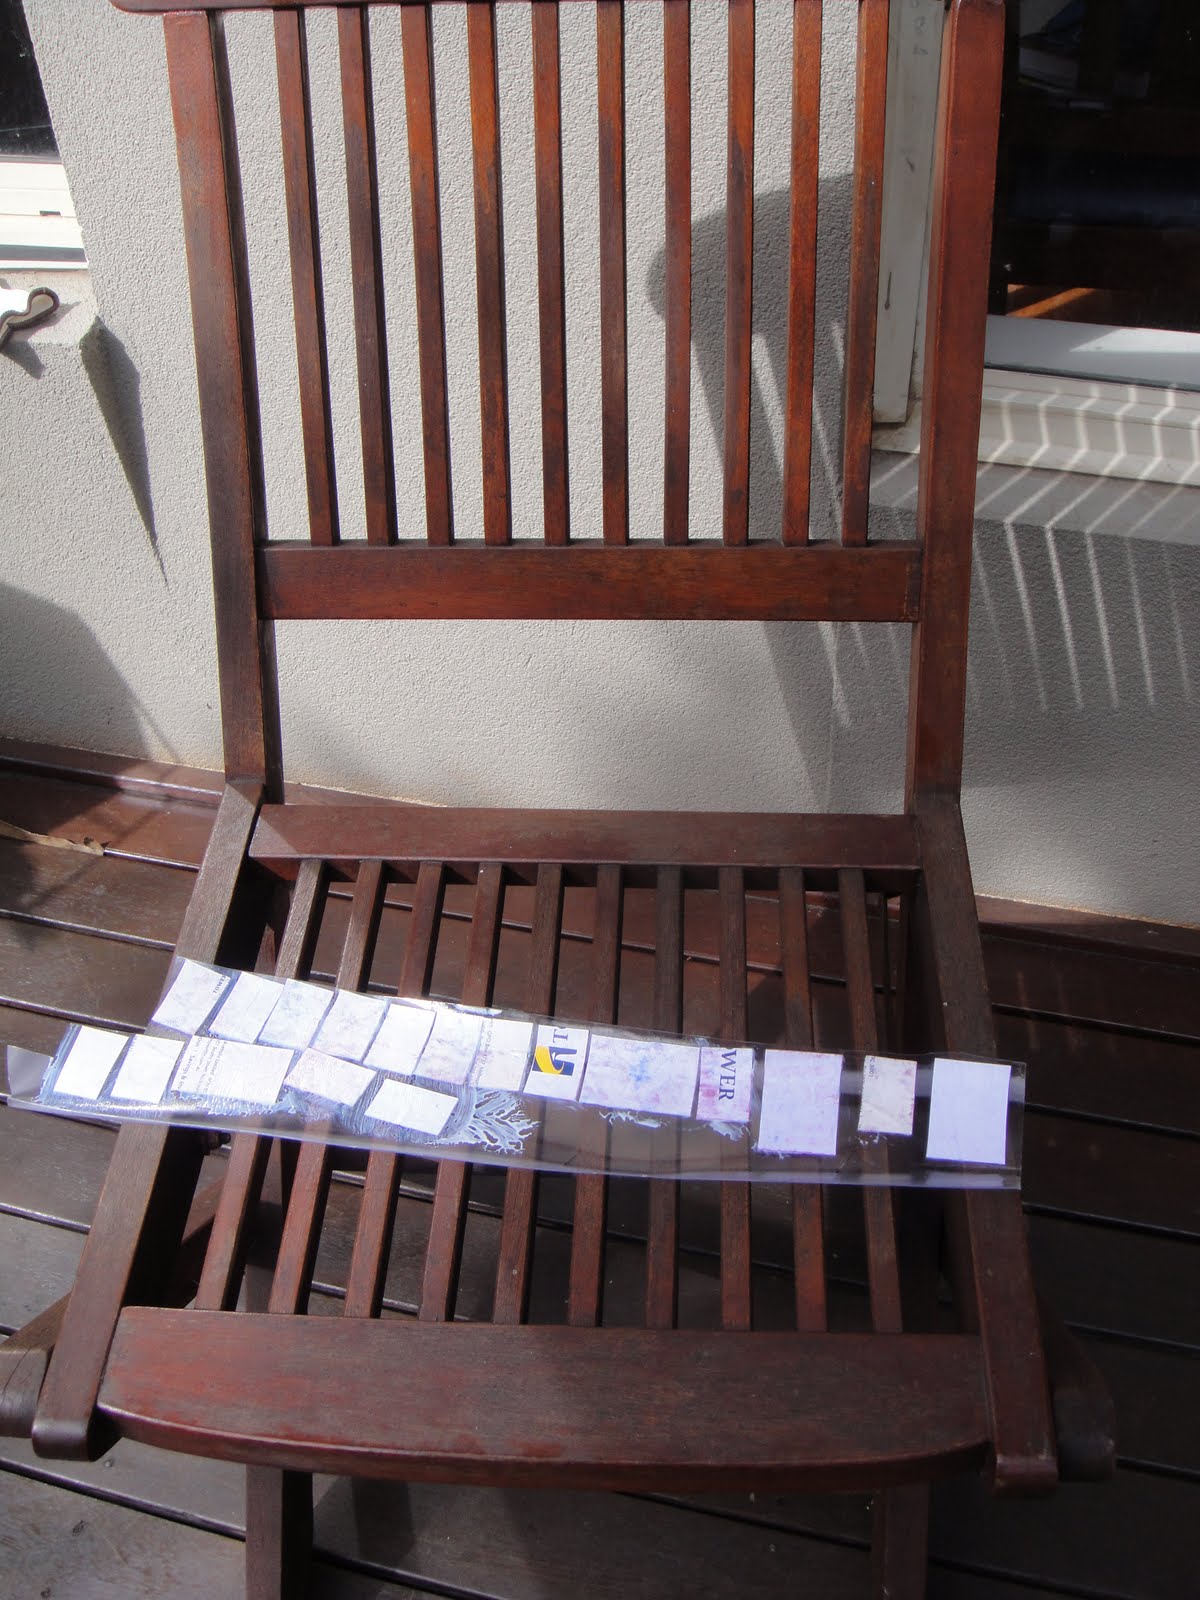
* Print off small thumbnail sized images onto an A4 sheet of recycled paper, and cut out each photo.


* Using mod podge and a paintbrush, glue mini photos face down onto vinyl, try not to make glue too gloopy as it may make the ink run.


* Leave out to dry (I dried outside on a chair).


* In the meantime, cut old magnet into little squares and rectangles.


* Once dry, I put vinyl sections in-between two heavy books overnight to flat out the curve and make images flat.


* Cut each image out of the vinyl


* Using a strong glue, attach each magnet square to the back of each vinyl covered image.


Shared with these link ups