Monday, October 24, 2011

Zipper brooches with leaves

The zipper brooches have progressed. You'll laugh at this one readers, I found a broken faux-leather wallet by the side of the road, yep, in hard rubbish!

I thought about fixing it up, but really, it wasn't worth the effort, so instead, I've started cutting little leaf shapes, and using a seam ripper (the sharp bit) I score leaf veins into the vinyl.

Vinyl wallet before cutting into leaves

http://www.dimensionsguide.com/wp-content/uploads/2010/01/Seam-Ripper.jpg
Seam ripper for scoring leaf veins into vinyl leaves


I'm starting to sell my brooches on Recycled Market, a brand new site that launched yesterday.

Do you make recycled goods too? If so, registration and listing your products on Recycled Market, is free.

Tuesday, October 11, 2011

Zipper Brooches

I managed to score a whole bag of metal tooth zippers for just $2, so I've been busy making these little zipper flower brooches...


This one is my favourite so far...


Friday, September 30, 2011

Crayon Holders

A crayon roll, useful for kiddies when at cafe's! A gift for a 3yr old girl, made using a tutorial found here fairy fabric purchased at the op shop, eco-fi (made from recycled plastic bottles) felt, and craft ribbon from my 'stash.


Friday, September 16, 2011

Childrens book party sweetie pouches


I made these for my son's third birthday party; sweetie pouches to give to his friends to say thank you for coming!

The children's books I used for this project, I have blogged about before, as I have used them for my coasters. An op shop gave me a bag of damaged books (mostly ripped or scribbled on) that I can use for craft projects, that would otherwise be thrown in the bin.


I ripped out book pages, used a small plate as a template to draw around, and cut two circles per pouch.
Machine stitched two circles together, leaving an opening to fill with treats - in this case, chocolate covered sultana's, then machine stitched the hole at the top to seal.


Shared with these link ups

Featured on WeUpcycle

Tuesday, August 30, 2011

DIY Photo Magnets

How to make your own photo fridge magnets.


What you will need:

1 x sheet of A4 recycled paper
Access to colour printer
Clear vinyl (I picked some up at Resource Rescue)
Mod Podge
Strong glue
An old fridge magnet, or you can purchase new magnet strips from a craft shop


* Print off small thumbnail sized images onto an A4 sheet of recycled paper, and cut out each photo.


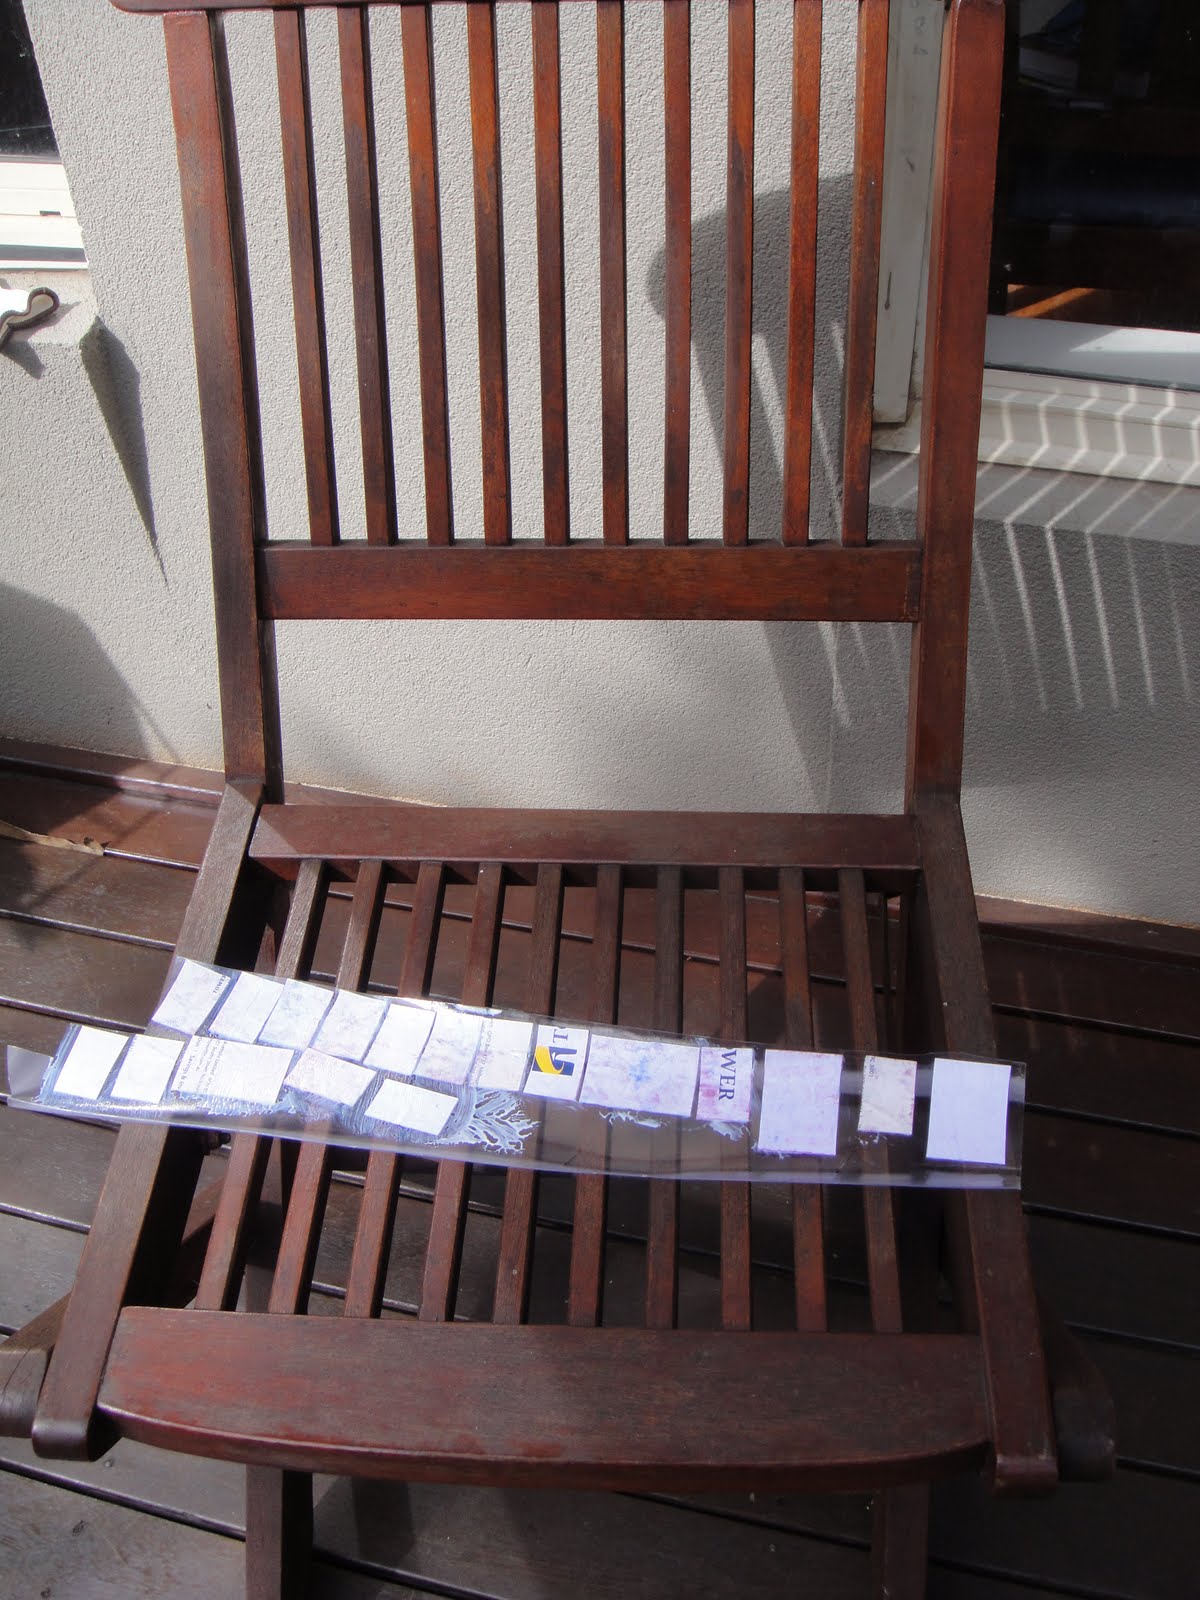
* Using mod podge and a paintbrush, glue mini photos face down onto vinyl, try not to make glue too gloopy as it may make the ink run.


* Leave out to dry (I dried outside on a chair).


* In the meantime, cut old magnet into little squares and rectangles.


* Once dry, I put vinyl sections in-between two heavy books overnight to flat out the curve and make images flat.


* Cut each image out of the vinyl


* Using a strong glue, attach each magnet square to the back of each vinyl covered image.


Shared with these link ups

Thursday, August 25, 2011

To market

I have been given an opportunity to sell some of my products at a market. A friend has kindly offered to stock some of my handmade goods on her stall, starting this weekend at a children's market.

As a result, I have been sewing up a storm, making giraffe rattles using vintage and second hand fabric, and chalk mats, again made with recycled fabric, all except the oil cloth chalk board material.

Giraffes


Chalk mats


Owl chalk pocket

Aeroplane chalk pocket


My son's chalk mat, used at the weekend


I find it hard to think of an appropriate price to sell my handmade products for? Readers, if you sell your products on market stalls, how do you calculate an appropriate retail price?

Labels on my products have been made using cardboard from a tissue box, with a hole punched on the corner. My details are on the back of each card, and the price, when I decide it, will be on the front..

Saturday, August 13, 2011

Buntings

A friend asked if I could make children's buntings. Not something I'd thought about before, but I found an easy tutorial here

Both buntings made for gifts; a brother and sister's birthday.

Jungle theme for the little guy...


And fairy bunting for the little lady...


In the making...


Fabric; thrifted and gifted, bias tape and thread - thrifted

Shared with these link ups